Unleash Culinary Magic: Master Tender Beef Brisket in Your Oven, No Smoker Required!
Forget the intimidating smoker or the endless hours of outdoor monitoring. Achieving unbelievably tender, flavorful beef brisket is entirely possible – and surprisingly easy – right in your home oven. This comprehensive guide to the ultimate beef brisket recipe will transform a humble cut of meat into a show-stopping dish, perfect for family gatherings, special occasions, or simply a delicious weekend feast. Get ready to impress your guests and your taste buds with minimal fuss and maximum flavor.
Our goal is to deliver a brisket so succulent it practically melts in your mouth, complete with a rich, savory bark and juicy interior. The best part? This no-fuss oven-roasted method frees you from constant oversight, allowing you to spend precious time with loved ones, not tethered to the kitchen. Say goodbye to guesswork and hello to consistently perfect brisket every single time!
Understanding Your Brisket: The Heart of the Recipe
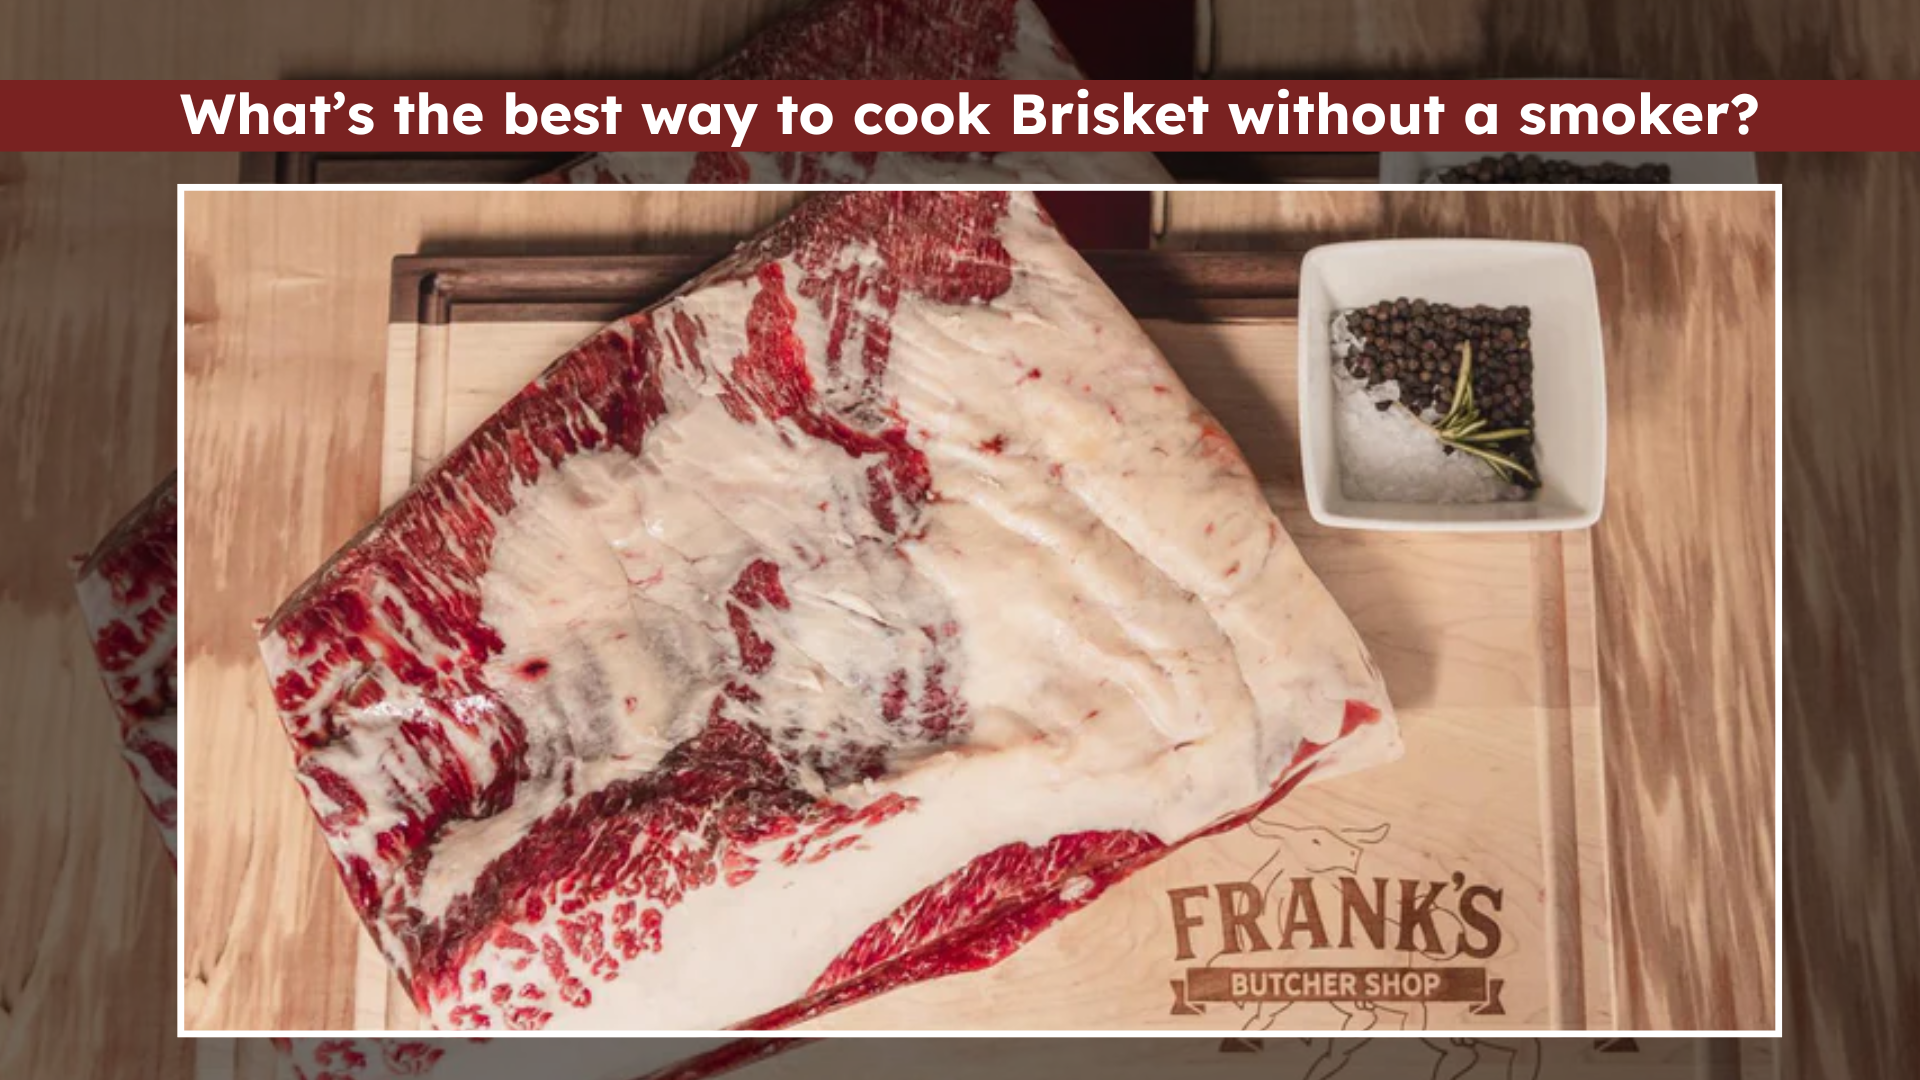
Before diving into the cooking process, it's essential to understand the star of our show: beef brisket. This primal cut comes from the breast section of the cow, nestled between the steer's shoulder and forelegs. Since this muscle gets a significant workout whenever the cow stands or lies down, it's naturally tough, packed with muscle fibers, collagen, and connective tissue. This inherent toughness is precisely why brisket demands a specific cooking approach to unlock its incredible tenderness.
A whole beef brisket is typically composed of two distinct muscles, separated by a thick layer of fat: the flat cut (also known as the first cut or leaner end) and the point cut (the second cut or fatter end). While a whole brisket can weigh anywhere from 5 to 20 pounds and is best sourced from a local butcher or farmer, most grocery stores offer either the flat or point cut individually. Understanding these differences is key to choosing and preparing your brisket:
- The Flat Cut: This leaner section is perfect if you prefer uniform slices of brisket. It tends to dry out more easily if overcooked due to its lower fat content, so careful monitoring is crucial.
- The Point Cut: Richly marbled with more intramuscular fat, the point cut is incredibly flavorful and tends to be more forgiving. It's ideal for shredding or making burnt ends.
For an oven-baked beef brisket recipe, either cut can yield fantastic results, though the flat is often preferred for presentation, and the point for sheer melt-in-your-mouth richness. If you happen upon a whole packer brisket, remember they cook differently due to their varying fat content and muscle density, often requiring careful temperature management and separation during the cook.
The Golden Rule: "Low and Slow" for Unparalleled Tenderness
The undisputed secret to transforming a tough brisket into a fork-tender masterpiece lies in the mantra: "low and slow." This cooking philosophy dictates that beef brisket must be cooked at a lower temperature over an extended period. Why is this so crucial?
When exposed to sustained, gentle heat, the collagen and connective tissues within the brisket slowly break down and dissolve, converting into gelatin. This gelatin then bastes the meat from within, infusing it with moisture and flavor, ultimately resulting in that coveted, buttery tenderness. Rushing the process with high heat will only yield dry, chewy meat, as the collagen won't have sufficient time to render properly.
While various methods exist for low and slow cooking—including slow cookers and grills—our focus for this comprehensive beef brisket recipe is the oven. The oven provides a consistent, controlled environment that is perfect for achieving succulent results without the complexities of managing outdoor temperatures. For more detailed insights into the scientific magic behind this process, explore our article on Secrets to Fork-Tender Oven Brisket: Easy Rub & Low-Slow Cook.
Crafting Your Masterpiece: A Step-by-Step Oven Beef Brisket Recipe
This Easy Oven Brisket Recipe: Tender & Flavorful, No Fuss! is designed to be straightforward yet deliver exceptional results. Prepare to be amazed by how little effort goes into such a magnificent dish.
1. Prepare Your Brisket
Trimming: If you have a brisket with a thick fat cap (especially a point or whole packer), you'll want to trim it down to about ¼ to ½ inch thickness. This much fat will render and keep the meat moist, while too much can prevent your rub from penetrating and create an unappealing texture. Don't remove all the fat; it's essential for flavor and moisture.
2. The Essential Dry Rub
A simple yet potent dry rub is the cornerstone of this recipe, building an incredible flavor profile and contributing to that desirable "bark." Our recommended blend uses basic pantry staples:
- 2 tablespoons Kosher Salt
- 1 tablespoon Chili Powder
- 1 tablespoon Garlic Powder
- 1 tablespoon Onion Powder
- 1 teaspoon Ground Black Pepper
- 1 teaspoon Sugar (brown sugar also works beautifully for a hint of caramelization)
- 1 teaspoon Dry Mustard
- 1 Bay Leaf (crushed or finely ground, optional but adds depth)
Instructions: In a small bowl, thoroughly mix all dry rub ingredients. Generously apply the rub to all sides of your brisket, pressing it firmly into the meat. Don't be shy – this is where much of your flavor comes from! For best results, consider applying the rub 12-24 hours in advance, covering the brisket loosely and refrigerating it. This allows the flavors to meld and penetrate deeper into the meat.
3. The Oven Cook: Uncovered, Then Covered
Equipment: You'll need a large roasting pan (a heavy-duty disposable pan can also work for easy cleanup) and heavy-duty aluminum foil. A reliable meat thermometer is absolutely crucial.
- Preheat & Sear (Optional but Recommended): Preheat your oven to a higher temperature, around 350-375°F (175-190°C). Place the brisket fat-side up in your roasting pan. Cook uncovered for 1-2 hours. This initial higher heat helps to develop a beautiful crust or "bark" and render some of the fat.
- The Low & Slow Phase: Reduce the oven temperature to a steady 250-275°F (120-135°C). Carefully remove the roasting pan from the oven (it will be very hot!). Tightly wrap the pan with heavy-duty aluminum foil, creating a sealed environment. You want to trap all that precious moisture.
- Long Cook: Return the tightly sealed brisket to the oven. Cook for approximately 6-8 hours, or even longer for larger cuts. The exact time will depend on the size and thickness of your brisket, as well as your oven's accuracy. The goal is to reach an internal temperature of around 195-205°F (90-96°C). At this point, the brisket should be probe-tender – a meat thermometer should slide into the meat with very little resistance, like pushing it into warm butter.
Pro Tip: The Stall: Don't be alarmed if your brisket's internal temperature seems to plateau for a few hours, typically around 150-170°F (65-77°C). This is known as "the stall" and is a natural part of the cooking process where moisture evaporating from the surface cools the meat. Be patient; pushing through the stall is essential for achieving tenderness. Wrapping the brisket as described above helps power through this phase by trapping moisture.
4. The Critical Resting Period
Once your brisket reaches the desired internal temperature and probe-tenderness, remove it from the oven. Do NOT slice it immediately! This resting period is just as vital as the cooking process itself. With the brisket still tightly wrapped in foil, let it rest on your countertop for at least 1 hour, or even 2-3 hours for a larger brisket. For even better heat retention, you can wrap the foiled brisket in a clean kitchen towel and place it in an empty cooler.
Why Rest? Resting allows the meat's internal temperature to stabilize (carryover cooking) and, more importantly, gives the juices that have migrated to the center of the meat during cooking time to redistribute throughout the entire brisket. Slicing too early will result in a dry, less flavorful brisket as those precious juices will simply run out onto your cutting board.
Serving Your Perfect Oven Brisket
When it's time to serve, unwrap your brisket and transfer it to a large cutting board. The most crucial step here is to slice against the grain. The "grain" refers to the direction of the muscle fibers. Slicing against them shortens these fibers, making each bite incredibly tender and easy to chew. If you slice with the grain, even the most perfectly cooked brisket can seem tough. Use a sharp slicing knife for clean, even cuts.
Serve your magnificent oven-baked brisket with your favorite BBQ sauce on the side, along with classic accompaniments like coleslaw, potato salad, baked beans, or cornbread. Leftovers are fantastic for sandwiches, tacos, chili, or even a hearty breakfast hash.
Conclusion: Your Oven, Your Brisket Masterpiece
Mastering a tender, flavorful beef brisket without a smoker is not only achievable but immensely rewarding. By understanding the nature of the cut, embracing the "low and slow" cooking method, utilizing a robust dry rub, and practicing patience during the critical resting phase, you can consistently produce a show-stopping dish that will earn rave reviews. This oven-baked beef brisket recipe demystifies a legendary cut of meat, proving that gourmet results are well within reach of any home cook. So, fire up your oven, follow these steps, and prepare to delight in the unparalleled taste of perfectly cooked brisket.
